It is a lot easier to help people with their computers when you can see their screen. VNC is a great way to share screens, but its traditional configuration can be challenging for someone in need of support.
A more user-friendly way to provide support is via VNC Listening Mode. Instead of setting up a VNC server and port forward on the end-user’s computer, set up a port forward and listening connection on your own computer. Once that has been set up, provide the listening IP address and port number to the end user to initiate a VNC session.
How to do it (NOTE: I am using TightVNC for the demonstration, but most VNC packages support listening mode.):
For the Support Provider
-
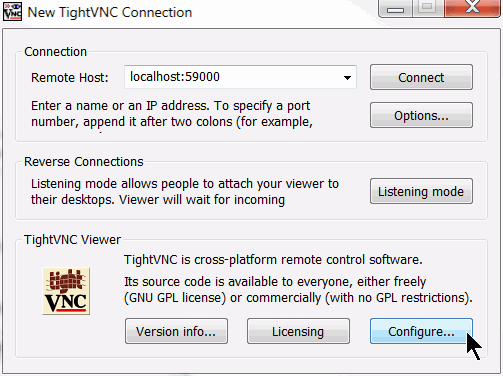
Open TightVNC Viewer and click the “Configure…” button:
-
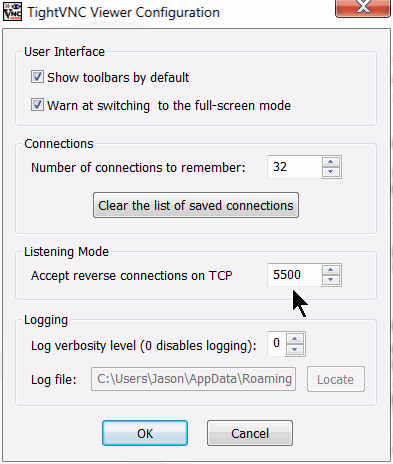
Under the “Listening Mode” group, set the listening port. The default listening port is 5500/tcp. This is fine if you are not already using that port for a different service. Once the listening port has been set, click OK.
- Make sure that either your VNC application or the port you specified in step #2 are allowed through your computer’s firewall.
-
Add a port forward in your internet-facing firewall that forwards the port chosen in step 2 to the same port on the machine you are hosting the listening viewer on.

-
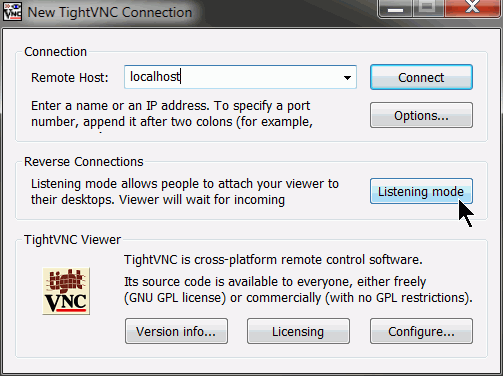
Once the local firewall rule and port forward are in place, re-open TightVNC Viewer and click the “Listening mode” button. This will place your machine in listening mode where it will wait for a VNC session to attach to it.
- Find out your public IP address from your router, or from a service like whatismyip.com or whatismyipaddress.com. Write this down along with the port number used in the port forward from step 4. You will need to provide this information to the user being supported.
For the User Being Supported
- Download TightVNC Server here: https://www.tightvnc.com/download.php
-
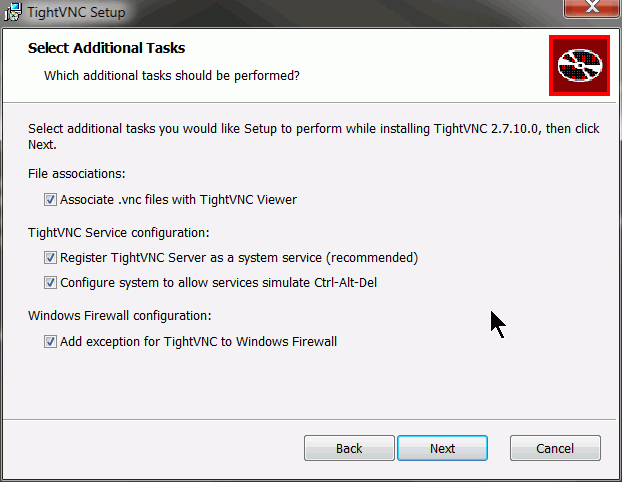
Perform “Typical” install of TightVNC viewer and server. Make sure that “Register TightVNC Server as a system service” and “Add exception for TightVNC to Windows Firewall” are checked.
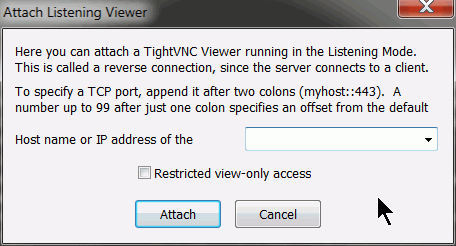
- Right-click TightVNC tray icon and select “Attach Listening Viewer…”
-
In the “Host name or IP address of the” field, supply the support provider’s external IP address and listening VNC port in the format IP::port, then click “Attach”.
Now you should be able to see and interact with the user’s desktop. For future connections, the support provider can skip to step 5, and the user being supported can skip to step 2.